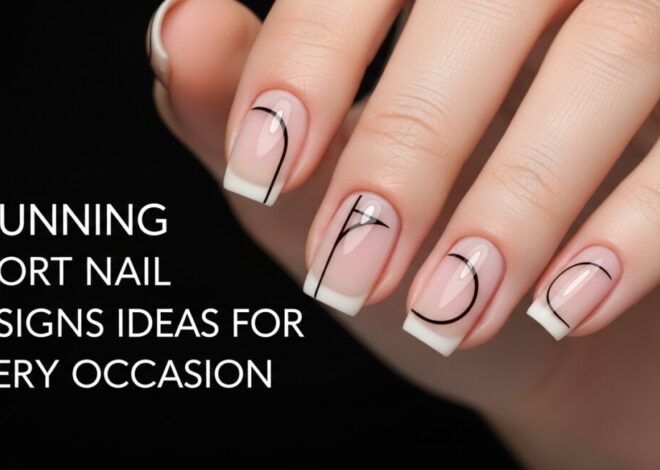


Ultimate Guide to Coffin Nails: Shapes, Lengths & DIY Tips
Welcome to the ultimate guide for achieving show-stopping coffin nails! If you’re looking to elevate your manicure game with a shape that’s both edgy and sophisticated, you’ve come to the right place. Coffin nails, also famously known as ballerina nails, have dominated the nail art scene for years, loved by celebrities and nail enthusiasts alike for their unique blend of elegance and attitude. This comprehensive post will delve deep into everything you need to know about this iconic nail shape, from understanding its distinct characteristics to mastering DIY techniques, exploring various lengths, and discovering endless design possibilities. Get ready to transform your fingertips into a work of art with the perfect set of coffin nails.
What Exactly Are Coffin Nails?
Before we dive into the specifics, let’s clarify what makes a nail shape a coffin nail. Imagine a square nail that has been tapered on the sides, creating a shape that narrows towards the tip but maintains a flat, blunt edge, rather than coming to a point like a stiletto or almond nail. This distinctive silhouette resembles a coffin or, more gracefully, a ballerina slipper, hence its dual nomenclature. The tapering offers a slimming effect on the fingers, while the blunt tip provides a modern, strong finish that sets it apart from other popular nail shapes.
The beauty of coffin nails lies in their versatility. They can be worn short for a more practical yet chic look, or long for maximum drama and an expansive canvas for intricate designs. This shape is a fantastic choice for those who desire a sophisticated look without the sharpness of stiletto nails, offering a bold statement that’s also incredibly functional.
The Undeniable Allure of Coffin Nails
Why have coffin nails maintained such immense popularity over the years? Their appeal is multifaceted:
- Elegance Meets Edge: They strike a perfect balance between refined elegance and a modern, edgy vibe. The tapered sides offer a delicate touch, while the blunt tip adds a contemporary boldness.
- Elongating Effect: The distinctive taper visually lengthens the fingers, making hands appear more slender and graceful. This is a major advantage for many who feel their fingers are shorter or wider.
- Versatile Canvas: The flat, blunt tip and ample surface area provide an ideal canvas for virtually any nail art design. From minimalist nudes to intricate glitter and abstract patterns, coffin nails can handle it all.
- Durability: Compared to pointed shapes like stilettos, the blunt tip of coffin nails can be more resistant to breakage, making them a practical choice for longer lengths, especially when done with acrylic or gel extensions.
- Celebrity Favorite: Often seen on the hands of trendsetters and fashion icons, coffin nails carry an undeniable air of celebrity glamour, inspiring many to adopt the style.
Exploring Coffin Nail Shapes and Lengths
One of the most exciting aspects of coffin nails is the sheer variety available in terms of shape intensity and length. Your choice can dramatically alter the overall aesthetic.
Short Coffin Nails: Practical Chic
Don’t assume coffin nails must be long to be effective. Short coffin nails offer a fantastic blend of trendiness and practicality. They provide the signature tapered, blunt-tip look in a more manageable length, perfect for those with active lifestyles or professional environments where extremely long nails might be impractical. They still offer the finger-slimming effect and are a great entry point if you’re new to the shape.
Medium Coffin Nails: The Perfect Balance
Medium coffin nails are arguably the most popular choice, striking a perfect balance between statement-making length and everyday wearability. This length truly showcases the distinct coffin shape, providing enough surface area for detailed designs without becoming cumbersome. They offer maximum versatility, easily transitioning from day to night, casual to formal.
Long & Extra Long Coffin Nails: Drama and Glamour
For those who love to make a statement, long coffin nails and extra long coffin nails are the ultimate choice. These lengths exude glamour, confidence, and high fashion. They offer the largest canvas for intricate nail art, 3D embellishments, and bold colors. While requiring more careful maintenance, the visual impact of extended coffin nails is undeniable, often seen on runways and red carpets.
Subtle vs. Dramatic Coffin: Tailoring the Taper
Beyond length, the degree of tapering also defines your coffin nail style:
- Subtle Coffin: Features a gentle taper towards the tip, often starting higher up the nail bed. This creates a softer, less angular look, ideal for those who want a hint of the coffin shape without too much drama.
- Dramatic Coffin: Involves a more pronounced taper, starting lower on the sides of the nail. This results in a sharper, more angular silhouette that truly emphasizes the coffin shape, making a bold fashion statement.
Choosing Your Perfect Coffin Nail Style
With so many options, how do you decide on the best coffin nail style for you? Consider the following factors:
- Lifestyle: Are you highly active? Do you work with your hands? Shorter or medium lengths might be more practical. If you have a more relaxed lifestyle, longer nails are certainly an option.
- Natural Nail Bed: Consider the width and length of your natural nail bed. Longer nail beds can support more dramatic lengths, while shorter ones might benefit from medium coffin nails to avoid overwhelming the finger.
- Desired Aesthetic: Do you prefer a subtle elegance or a bold, attention-grabbing look? This will guide your choice between subtle/dramatic tapering and varying lengths.
- Maintenance Commitment: Longer nails, especially extensions, require more frequent fills and careful handling to prevent breakage.
DIY Coffin Nails: A Step-by-Step Guide
Achieving the perfect coffin nail shape at home is entirely possible with the right tools and a bit of practice. Here’s how to do it:
Step 1: Gather Your Tools
- Good quality nail file (180/240 grit is ideal)
- Nail clippers (if starting with very long nails)
- Nail buffer
- Cuticle pusher and nippers (optional, for prep)
- Base coat, nail polish, top coat
- Nail brush for dusting (optional)
Step 2: Prep Your Nails
Begin with clean, dry nails. Remove any old polish. Push back your cuticles gently and trim any hangnails. If your nails are very long, trim them to your desired starting length, keeping them square for now. Ensure all nails are roughly the same length before you begin shaping.
Step 3: Shape the Sides (The Taper)
This is where the magic happens for your coffin nails. Starting from the free edge of your nail (the white part), begin filing inwards at an angle. The key is to create a symmetrical taper on both sides of each nail. File slowly and consistently, checking your progress frequently. For a subtle coffin, start the taper higher up. For a dramatic coffin, start lower and angle more sharply. The goal is to narrow the nail as it approaches the tip.
Step 4: File the Tip (The Blunt Edge)
Once you’ve achieved the desired taper on both sides, it’s time to create the signature blunt tip. Take your nail file and gently file straight across the very end of the nail. Ensure this edge is perfectly flat and straight. Double-check that it is symmetrical with the tapering you’ve created on the sides. Avoid rounding the corners; the essence of the coffin nail is its flat, straight tip.
Step 5: Finishing Touches
After shaping all your nails, use a nail buffer to smooth out any rough edges and buff the surface of your nails for a flawless base. Dust off any nail filings. Apply a base coat, two coats of your chosen nail polish, and a glossy or matte top coat for protection and shine/finish. Don’t forget cuticle oil for healthy nails!
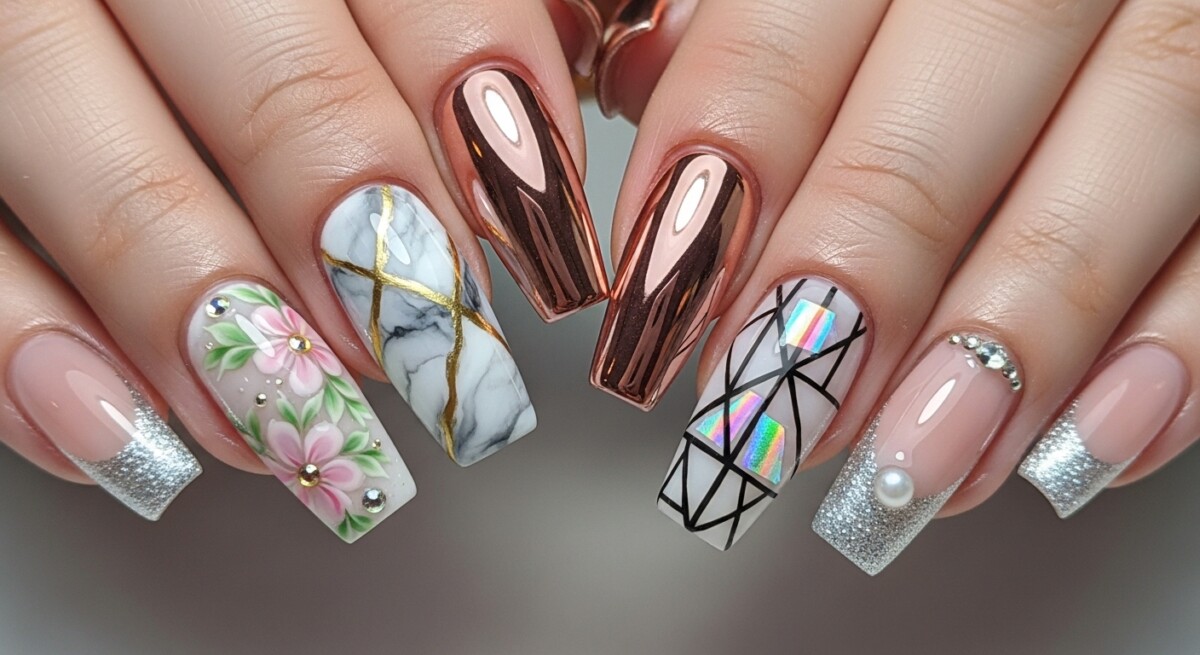
Stunning Coffin Nail Design Ideas
The canvas is ready! Here are some popular and trending design ideas for your beautiful coffin nails:
- Classic Nudes & Neutrals: Elegant and timeless, nude or pale pink coffin nails are perfect for any occasion. They highlight the shape beautifully.
- Ombre Coffin Nails: A gradual blend of two or more colors, often with glitter, looks absolutely stunning on the long surface of coffin nails. Pink and white, or sunset hues, are popular.
- Glitter & Bling: Whether it’s a full glitter nail, an accent nail, or strategically placed rhinestones, glitter adds instant glam to coffin nails.
- French Tip Coffin Nails: A modern twist on a classic, French tips on coffin nails can be traditional white, colorful, or even glitter-dipped.
- Matte Finish: A matte top coat transforms any color into a sophisticated, velvety finish that truly stands out, especially on dark or bold hues.
- Bold Colors & Nail Art: Don’t shy away from vibrant reds, deep blues, or even intricate hand-painted designs. The ample surface area of coffin nails is perfect for detailed artwork.
Maintaining Your Coffin Nails
To keep your coffin nails looking their best and to extend their lifespan, follow these maintenance tips:
- Regular Fills (for extensions): If you have acrylic or gel coffin nails, schedule regular fills every 2-3 weeks to maintain the strength and aesthetics of the shape.
- Moisturize: Keep your cuticles and nails hydrated with cuticle oil daily. This prevents brittleness and promotes healthy nail growth.
- Protect Your Hands: Wear gloves when doing household chores or gardening to prevent damage and chipping.
- Gentle Filing: If a nail gets snagged, gently file it down immediately to prevent further tearing. Always file in one direction.
- Avoid Using Nails as Tools: Resist the urge to use your nails to open cans or pry things open, as this can lead to breakage.
Coffin Nails vs. Other Popular Shapes
While coffin nails are distinct, they are often compared to other popular shapes. Here’s a quick rundown:
- Vs. Stiletto: Both are long and dramatic, but stiletto nails come to a sharp, pointed tip, while coffin nails have a blunt, flat tip.
- Vs. Almond: Almond nails are tapered and rounded at the tip, offering a softer, more oval look compared to the angularity of coffin nails.
- Vs. Square: Square nails have straight sides and a straight, sharp tip. Coffin nails retain the straight tip but taper on the sides, making them less blocky.
Conclusion: Embrace the Power of Coffin Nails
From their striking silhouette to their incredible versatility, coffin nails offer a nail style that is truly unparalleled. Whether you prefer them short and subtle or long and dramatic, this shape provides an ideal canvas for personal expression and an undeniable touch of glamour. We hope this ultimate guide has provided you with all the knowledge and inspiration you need to rock your perfect set of coffin nails, whether you’re doing them yourself or visiting your favorite nail technician. Dare to try this iconic shape and transform your manicure into a true statement piece!
Frequently Asked Questions
Are coffin nails good for weak nails?
While the blunt tip of coffin nails can make them more durable than pointed shapes, if your natural nails are inherently weak, long coffin nails might still be prone to breakage. It’s often recommended to get coffin nails with acrylic or gel extensions on weak natural nails to add strength and ensure longevity. Using a good nail strengthener underneath extensions can also help.
How often should I get my coffin nail fills?
For optimal appearance and to maintain the integrity of your coffin nail extensions (acrylic or gel), it’s generally recommended to get fills every 2-3 weeks. This schedule helps address natural nail growth, rebalance the structure, and fix any lifting or minor damage, ensuring your coffin nails remain strong and beautiful.
Can you get coffin nails on short natural nails?
Yes, absolutely! While coffin nails are often associated with longer lengths, you can certainly achieve the shape on shorter natural nails. The tapering and blunt tip can still be created, offering a chic and practical look. If your natural nails are very short and you desire more length, you can opt for short coffin-shaped tips or extensions to add just a bit more canvas.


3 thoughts on “Ultimate Guide to Coffin Nails: Shapes, Lengths & DIY Tips”