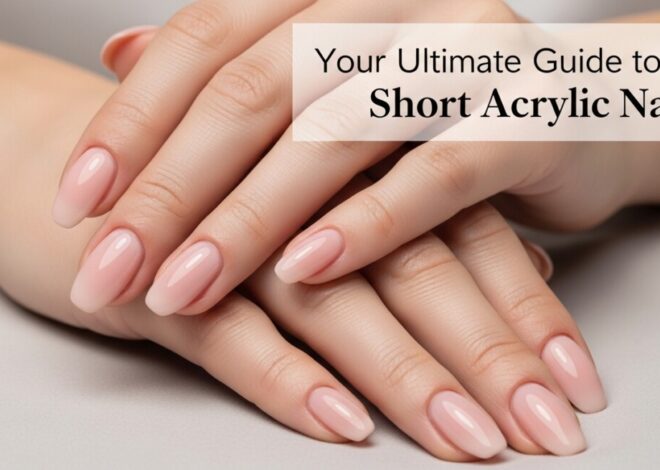

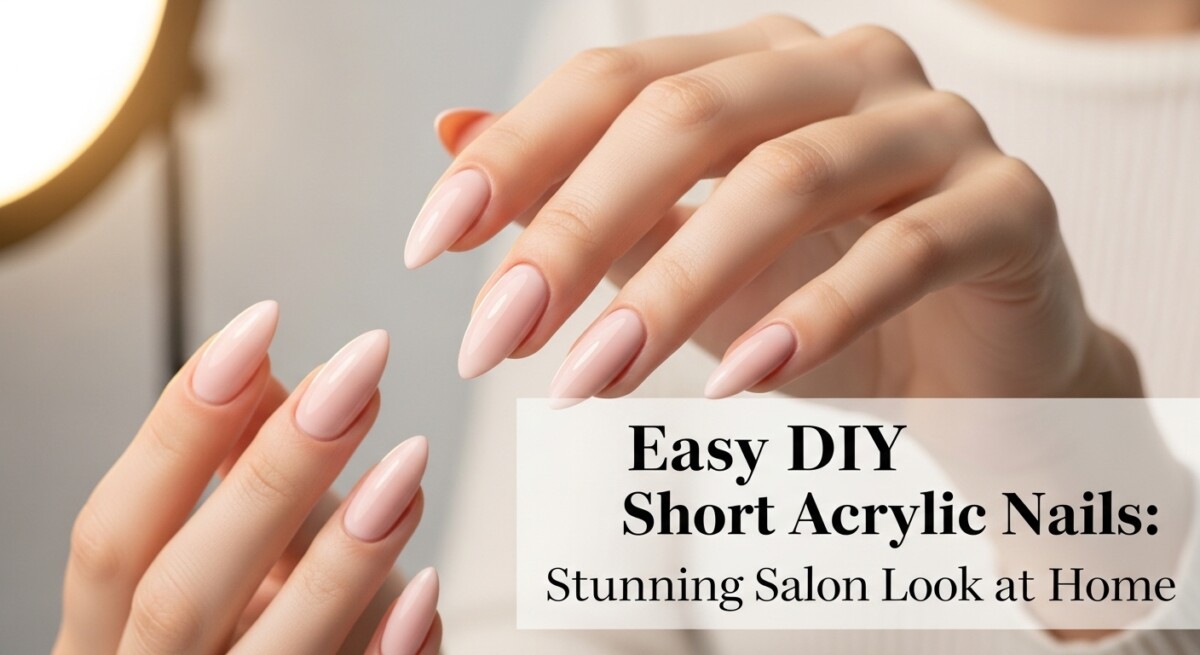
Easy DIY Short Acrylic Nails: Stunning Salon Look at Home
Dreaming of salon-quality nails without the salon price tag or time commitment? You’ve come to the right place! Acrylic nails are a fantastic way to add strength, length, and style to your fingertips, and short acrylics offer a chic, practical elegance that’s perfect for everyday life. While they might seem intimidating, mastering DIY short acrylic nails at home is absolutely achievable, even for complete beginners. This comprehensive, step-by-step guide will walk you through everything you need to know, transforming your nail game and helping you achieve stunning us nails that look professionally done. Get ready to empower your inner nail artist and create beautiful, durable manicures right from your own home!
Why Choose DIY Short Acrylic Nails?
There’s a unique satisfaction that comes with crafting your own beauty, and acrylic nails are no exception. Short acrylics, in particular, have surged in popularity for their balance of aesthetics and functionality. They offer the durability and versatility of longer acrylics but with less maintenance and a lower risk of snagging or breaking.
The Allure of Short & Sweet: Benefits You Can’t Ignore
- Practicality & Durability: Short acrylics are less prone to breaking or chipping, making them ideal for active lifestyles. They provide significant strength to natural nails, preventing splits and breaks.
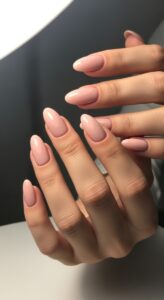
- Chic Elegance: A perfectly sculpted short acrylic nail offers a clean, sophisticated look that never goes out of style. It’s subtle yet polished.
- Reduced Maintenance: Less length often means less daily wear and tear, and typically requires less product for fills, saving you time and money in the long run.
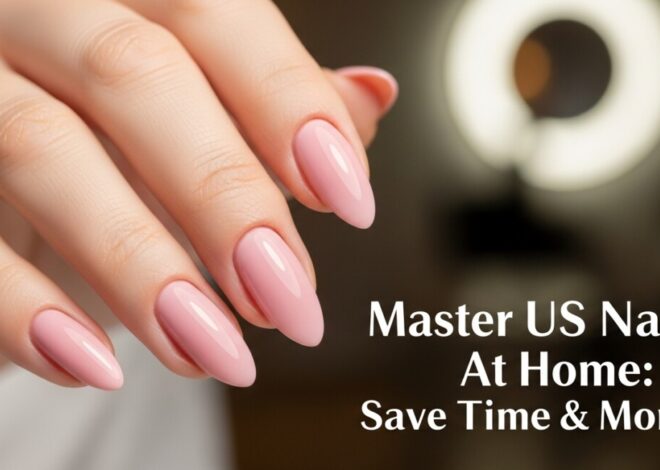
- Cost-Effective: Learning to do your own us nails at home can save you hundreds, if not thousands, of dollars annually compared to salon visits.
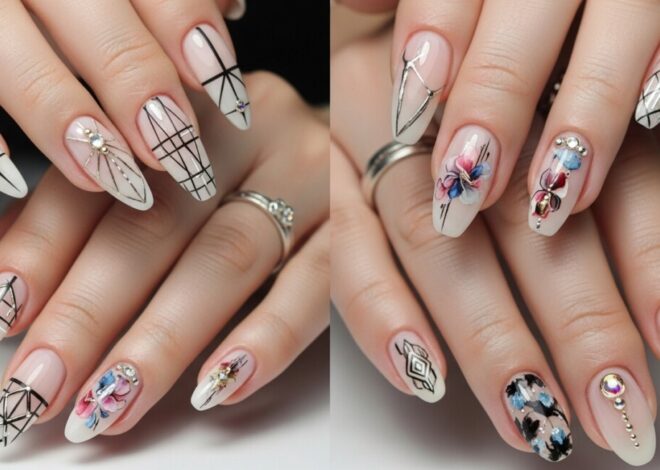
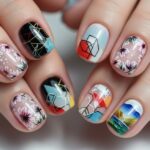
- Creative Freedom: You have complete control over the shape, color, and design. Experiment and express your unique style without limitations!
Before You Start: Essential Supplies for Flawless Us Nails
Preparation is key to any successful DIY beauty project, and acrylic nails are no exception. Gathering all your materials beforehand will ensure a smooth, stress-free application process. Think of it as setting up your personal nail studio!
Your DIY Acrylic Nail Arsenal: What You’ll Need
- Nail Clippers & Files: Essential for shaping your natural nails and later refining your acrylics. A 100/180 grit file is versatile for both.
- Cuticle Pusher & Nipper: For proper cuticle care, ensuring a clean nail bed for acrylic adhesion.
- Nail Dehydrator & Primer (Acid-Free): These are non-negotiable! The dehydrator removes oils and moisture, while the primer creates a sticky surface for the acrylic to bond to, preventing lifting.
- Acrylic Liquid (Monomer): Always choose a high-quality EMA (Ethyl Methacrylate) monomer. Avoid MMA (Methyl Methacrylate) as it’s harmful and rigid. Look for low-odor options if possible.
- Acrylic Powder: Start with clear or natural pink. A good quality, finely milled powder is easier to work with.
- Dappen Dish: A small, heavy glass dish to hold your monomer.
- Acrylic Brush (#8 or #10 Kolinsky): Invest in a good quality Kolinsky sable brush. It makes a huge difference in bead control and application. Clean it thoroughly after each use.
- Nail Forms or Tips (Short C-Curve): Forms are excellent for sculpting a natural-looking extension directly from your nail. Tips are quicker for beginners but require blending. For short acrylics, forms give more flexibility in sculpting the perfect short edge.
- Lint-Free Wipes: For cleaning brushes and wiping off excess.
- Acetone: For cleaning brushes and accidental spills (and eventually removal).
- Top Coat (Non-Wipe Gel or Regular Polish): A high-shine top coat seals and protects your finished us nails. If using gel, you’ll need an LED/UV lamp.
- Cuticle Oil: The final touch for healthy cuticles and a polished look.
- Paper Towels & Trash Bag: To keep your workspace clean.
Prepping Your Natural Nails: The Foundation of Flawless Us Nails
This is arguably the most critical step. Proper nail preparation ensures maximum adhesion, prevents lifting, and creates a beautiful, long-lasting manicure. Do NOT skip or rush this stage!
Step-by-Step Nail Prep for Optimal Adhesion
- Sanitize Your Hands: Start by thoroughly washing your hands with soap and water, then follow with an alcohol-based hand sanitizer.
- Remove Old Polish: Use an acetone-free nail polish remover to ensure your nails are completely clean.
- Trim & File Natural Nails: Trim your natural nails short, as close to the fingertip as comfortable. Then, gently file them to a uniform shape. For acrylics, you usually want them short to reduce the chance of trapping moisture underneath.
- Push Back & Trim Cuticles: Using your cuticle pusher, gently push back the cuticles from the nail plate. If you have any hangnails or excess dead skin, carefully use a cuticle nipper to trim them. Be gentle – never cut live skin!
- Gently Buff the Nail Plate: Using the fine side of your buffer, lightly buff the entire surface of each natural nail. This removes the natural shine and creates a slightly porous surface for the acrylic to adhere to. Avoid over-buffing, which can thin your natural nails.
- Dust Off & Cleanse: Use a lint-free wipe to thoroughly dust off any debris from buffing. Then, saturate a lint-free wipe with your nail dehydrator and wipe each nail, ensuring it’s completely clean and free of oils.
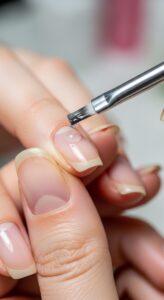
- Apply Nail Primer: Apply a thin, even coat of acid-free primer to the natural nail plate. Be careful not to let it touch your skin. Allow it to air dry for a few seconds until it looks chalky or sticky. This creates the optimal surface for your acrylic to bond.
The Acrylic Application: Step-by-Step for Perfect Us Nails
Now for the exciting part – applying the acrylic! This section requires patience and practice. Remember, consistency is key, and it’s perfectly normal for your first few attempts to not be perfect. Focus on achieving a smooth, even application.
Crafting Your Short Acrylic Masterpiece
-
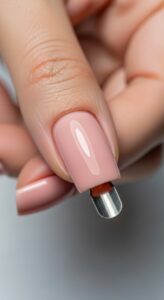
- Apply Nail Forms (or Tips): If using forms, carefully slide one under the free edge of your natural nail, ensuring it fits snugly without any gaps. Pinch the form slightly to create a C-curve that matches your desired nail shape. Ensure it’s straight and secure.
-
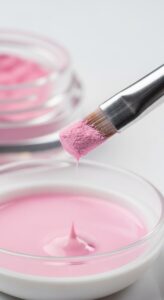
- Prepare Your Brush & Monomer: Pour a small amount of monomer into your dappen dish. Dip your acrylic brush into the monomer, then gently drag it across the side of the dappen dish to remove excess liquid. You want the brush moist, not dripping.
- Pick Up Your First Bead: Gently touch the tip of your moist brush into the acrylic powder. Hold it there for 2-3 seconds until a small, round bead forms on the brush. The ideal bead should be smooth, shiny, and not too wet or too dry. For short acrylics, start with smaller beads.
- Apply the First Bead (Apex/Stress Area): Place this bead onto the middle of the natural nail and slightly onto the form, where the natural nail meets the extension. This is your apex, providing strength. Gently pat and guide the acrylic to create your desired length and shape for the free edge. For short acrylics, this means a compact, controlled extension.
- Apply the Second Bead (Cuticle Area): Pick up a slightly smaller bead. Place it just below the cuticle area, leaving a tiny margin (a hairline away from the cuticle to prevent lifting). Gently push the acrylic towards the cuticle, then lightly pat and feather it down towards the first bead, blending seamlessly. Be careful not to flood the cuticle area.
- Refine and Perfect: If needed, pick up a tiny third bead for any gaps or to refine the side walls or free edge. Work quickly but precisely. Ensure the surface is smooth and the overall structure has a gentle curve from the cuticle to the free edge, and side-to-side (the C-curve). This is where your short us nails will truly take shape.
- Allow to Cure/Harden: Let the acrylic air dry completely. It will transition from shiny to dull, and then to a hard, tapping sound when touched with your brush handle. This usually takes a few minutes, depending on the product and room temperature.
- Remove Forms: Once fully hardened, gently pinch and remove the nail forms.
Finishing Touches: Filing, Buffing, and Top Coat
Once your acrylic has hardened, it’s time to sculpt your creation into its final, flawless form. This is where you perfect the shape and achieve that smooth, professional finish for your us nails.
Sculpting Your Masterpiece to Perfection
-
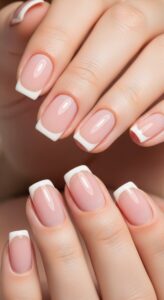
- Initial Shaping (Filing): Using your 100/180 grit file, begin to shape the side walls, free edge, and overall length. For short acrylics, focus on a clean, crisp free edge (square, round, or almond are popular). Gently file the top surface to remove any major bumps and create a smooth, even surface.
- Refine the Surface (Buffing): Once you’re happy with the shape, use a finer grit buffer to smooth out any file marks and create a perfectly even surface. Buff all areas – the top, sides, and free edge.
- Dust Off & Cleanse: Use a brush or lint-free wipe to thoroughly remove all dust from your nails and surrounding skin. Then, wipe with alcohol or cleanser to ensure a pristine surface for your top coat.
- Apply Top Coat: Apply a thin, even layer of your chosen top coat. If using a non-wipe gel top coat, cure it under your LED/UV lamp according to the manufacturer’s instructions (usually 30-60 seconds). If using a regular top coat, allow it to air dry completely.
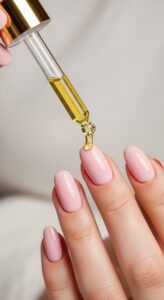
- Hydrate with Cuticle Oil: Finish by applying a drop of nourishing cuticle oil to each nail. Gently massage it into your cuticles and the skin around your nails. This rehydrates and adds a beautiful, healthy sheen to your finished us nails.
Aftercare and Maintenance for Your New DIY Nails
Congratulations on your beautiful new us nails! To ensure they stay looking their best and last as long as possible, a little aftercare goes a long way.
Keeping Your Us Nails Flawless and Healthy
- Moisturize Daily: Continue to use cuticle oil every day. This keeps your cuticles healthy, prevents dryness, and prolongs the life of your acrylics.
- Protect Your Hands: Wear gloves when doing household chores, gardening, or anything involving harsh chemicals or prolonged water exposure.
- Avoid Using Nails as Tools: Resist the urge to pick, pry, or scrape with your nails. Acrylics are strong, but they can still break or lift if abused.
- Regular Fills: As your natural nails grow, you’ll develop a gap between your cuticle and the acrylic. Plan for fills every 2-3 weeks to maintain the integrity and appearance of your short acrylics.
- Professional Removal (or Gentle DIY): When it’s time for a change, consider having them professionally removed or follow a gentle DIY soak-off method using pure acetone. Never peel or force acrylics off, as this can severely damage your natural nails.
Troubleshooting Common DIY Acrylic Issues
Even with the best instructions, you might encounter a few hiccups, especially when you’re just starting. Don’t get discouraged! Most common issues have simple solutions, and learning to fix them will only make your us nails game stronger.
Conquering Common Us Nails Challenges
- Lifting: This is often due to improper nail prep (oils or moisture left on the nail), flooding the cuticle area, or insufficient primer. Ensure thorough dehydration and priming, and keep acrylic away from the skin.
- Too Thick/Bumpy: Usually caused by picking up too large a bead or not blending the acrylic evenly. Practice with smaller beads and smooth out each layer as you apply it. Filing and buffing can correct this post-application.
- Brittle/Cracking: This can happen if the acrylic mixture is too dry (not enough monomer) or if the application is too thin in the stress areas. Aim for a medium consistency bead and ensure adequate thickness at the apex.
- Uneven Color/Cloudiness: Often a result of an inconsistent liquid-to-powder ratio or not blending colors properly. Ensure your brush is evenly moist and pick up a consistent bead.
- Bubbles: Air bubbles can be trapped if you overwork the product or if your brush is too dry. Work efficiently and with a properly saturated brush.
Why “Us Nails” Are the Future of At-Home Beauty
The term “us nails” embodies more than just a beauty trend; it represents a movement towards self-empowerment, creativity, and accessibility in personal grooming. It’s about taking the power of professional nail artistry into our own hands, customizing our look, and saving money in the process.
Empowering Your Beauty Journey with Us Nails
Embracing DIY short acrylic nails means joining a growing community of individuals who refuse to compromise on style or budget. It’s about the pride of showing off a manicure you created yourself, the satisfaction of learning a new skill, and the freedom to change your look whenever inspiration strikes.
As you gain confidence, you’ll discover new techniques, colors, and designs, truly making your nails an extension of your personality. “Us nails” signifies that quality, stunning manicures are no longer exclusive to salons but are within reach for all of us, right in the comfort of our homes. This shift is revolutionizing how we approach beauty, making it more personal, sustainable, and utterly achievable.

Conclusion: Your Journey to Beautiful Us Nails Begins Now!
Embarking on the journey of DIY short acrylic nails is an incredibly rewarding experience. While it requires patience, practice, and the right tools, the satisfaction of achieving beautiful, durable, and customized nails at home is unparalleled. This beginner-friendly guide has equipped you with all the knowledge to start creating your own stunning manicures. Remember to prioritize proper preparation, work with precision, and don’t be afraid to experiment. Your path to gorgeous, self-made us nails awaits. Happy sculpting!