
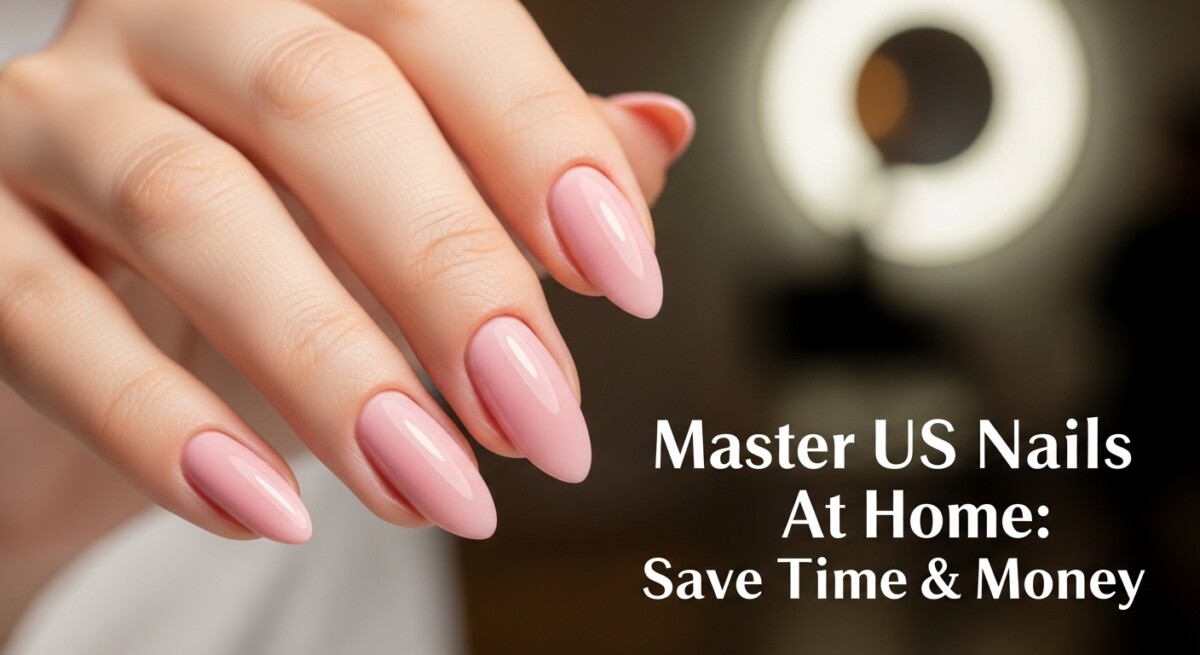
Master US Nails At Home: Save Time & Money
In a world of constant hustle, taking time for self-care is more important than ever. And what better way to feel polished and put-together than with a flawless manicure? While salon visits are a delightful treat, mastering the art of the at-home manicure gives you the power to achieve beautiful US nails on your own terms, saving both time and money. This comprehensive guide will walk you through every step, from essential tools to advanced techniques, ensuring your DIY nail game is always strong.
Gone are the days when salon-quality results felt out of reach. With the right knowledge and products, you can transform your fingertips into a canvas of perfection, reflecting the latest US nail trends right from your living room. Let’s dive in!
Why DIY Your US Nails?
The allure of a professional manicure is undeniable, but the benefits of doing your own US nails at home are numerous and compelling. It’s not just about convenience; it’s about control, creativity, and cost-effectiveness.
The Benefits of Home Manicures
- Personalization: You have complete control over the products used, from the brand of polish to the type of base coat, ensuring they align with your preferences and nail health needs.
- Hygiene: Using your own tools guarantees optimal sanitation, reducing the risk of infections or cross-contamination sometimes associated with shared salon tools.
- Flexibility: Manicure whenever inspiration strikes, or whenever you have a spare moment – no appointments necessary.
- Skill Development: Each home manicure session is an opportunity to hone your technique, turning you into a true nail art pro.
- Exploring US Nail Trends: Experiment with the latest colors, finishes, and nail art designs popular across the US without the added salon cost.
Saving Time and Money
Think about the time spent traveling to and from the salon, waiting for your appointment, and then the actual service. An at-home manicure cuts all of that out. A quick touch-up or a full re-do can fit into your schedule with ease. Financially, salon manicures add up. Investing in quality at-home supplies might seem like an initial outlay, but over time, it provides significant savings, allowing you to achieve beautiful US nails for a fraction of the cost.
Essential Tools for Your US Nails Kit
Building your ideal at-home manicure kit is the first step towards achieving professional-looking US nails. You don’t need dozens of items, but a carefully selected set of high-quality tools will make all the difference.
Nail Files and Buffers
- Nail Clippers: For initial length reduction. Choose sharp, stainless steel clippers.
- Nail File: A glass or crystal file is highly recommended as it seals the edge of the nail, preventing splits and snags. Emery boards are also fine but should be replaced frequently.
- Nail Buffer: A multi-sided buffer will smooth out ridges, shine the nail surface, and prepare it for polish application, ensuring your US nails look impeccably smooth.
Cuticle Care Essentials
- Cuticle Pusher: A metal or wooden orange stick to gently push back cuticles.
- Cuticle Remover (Optional): A liquid solution that softens cuticles for easier pushing.
- Cuticle Nippers (Use with Caution): Only for trimming *dead* skin tags or hangnails, never live cuticle.
- Cuticle Oil: Essential for nourishing cuticles and promoting healthy nail growth.
Polish Power: Base, Color, and Top Coat
The holy trinity of a long-lasting manicure:
- Base Coat: Protects your natural nail from staining, creates a smooth surface for polish adhesion, and helps your manicure last longer.
- Color Polish: Choose high-quality polishes in your favorite shades. Look for brands known for their chip resistance and vibrant pigments, keeping up with popular US nail color trends.
- Top Coat: Adds shine, seals in the color, and provides a protective layer against chipping and everyday wear. A quick-dry top coat is a lifesaver.
Beyond Polish: Tools for Perfection
- Nail Polish Remover: Acetone-free for natural nails, acetone for gels or glitter polishes.
- Cotton Pads/Balls: For polish removal and clean-up.
- Nail Brush: For cleaning under the nails.
- Hand Cream/Lotion: For post-manicure hydration.
Step-by-Step: Achieving Salon-Quality US Nails
Now that your kit is ready, let’s dive into the meticulous process of creating stunning US nails right at home. Patience and precision are your best friends here.
Step 1: Prep Like a Pro
Start with clean, dry hands. Remove any old polish thoroughly. Wash your hands with soap and water, then dry them completely. If your nails are very long, trim them first with clippers to your desired length.
Step 2: Shape and Smooth
Using your nail file, gently shape your nails. File in one direction to prevent fraying and splitting. Common shapes include square, oval, round, squoval, or almond, reflecting popular US nail aesthetics. Once shaped, use a nail buffer to gently smooth the surface of your nails, removing ridges and creating an even canvas for your polish. Buffing also enhances the natural shine of your nails.

Step 3: Cuticle Care Done Right
Apply a small amount of cuticle remover (if using) and let it sit for a minute. Then, gently push back your cuticles with a cuticle pusher or orange stick. Push in small, gentle motions, never forcing them. Remember, cuticles protect your nail bed, so don’t cut them unless there are actual hangnails or dead skin. After pushing, wash your hands again to remove any cuticle remover residue.
Step 4: The Art of Polish Application (Base Coat)
Apply a thin, even layer of base coat to each nail. Start with a stroke down the center, then one on each side. The base coat acts as a protective barrier and helps your polish adhere better. Let it dry completely – usually just a minute or two.
Step 5: Color Me Beautiful (Color Coat)
This is where your chosen US nail color comes to life! Apply your first thin coat of color polish. Thin coats are crucial for even application and quicker drying. Apply the same way as the base coat: center, then sides. Allow this coat to dry for 2-3 minutes. Apply a second thin coat. Depending on the polish’s opacity, you might need a third coat for full, vibrant color. Always wait for each coat to dry to the touch before applying the next.
Step 6: Seal the Deal (Top Coat)
Once your final color coat is completely dry, apply a generous layer of top coat. This adds incredible shine, protects your manicure from chipping, and prolongs its life. Remember to “cap” the free edge of your nail with the top coat (and color coats too!) by swiping the brush along the very tip. This seals the edge and prevents premature chipping, a key technique for durable US nails.
Step 7: The Grand Finale – Drying & Aftercare
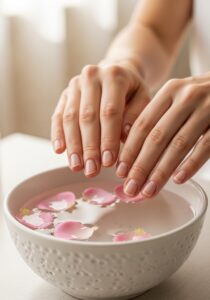
Patience is key! Allow your top coat to dry thoroughly. This can take anywhere from 10 minutes to an hour for a truly hard set, depending on the polish. You can use a quick-dry spray or drops to speed up the process. Once dry, apply a nourishing cuticle oil to your cuticles and gently massage it in. Finish with a rich hand cream to hydrate your hands, completing your perfect US nails manicure.
Advanced US Nail Techniques & Trends
Once you’ve mastered the basics, you might want to explore more advanced techniques that are popular in US nail salons. Elevate your home manicure game with these tips.
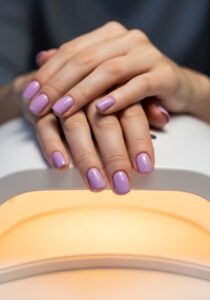
Gel Nails at Home: A Game Changer
Gel polish offers superior durability and shine, lasting for weeks without chipping. Home gel kits are widely available and include a gel base coat, color, top coat, and a UV or LED lamp for curing. The process is similar to traditional polish but requires curing each layer under the lamp. Remember to properly prep your nails and follow the specific instructions for your gel kit for best results and safe removal.
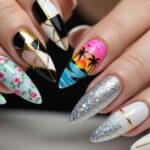
Nail Art for Beginners
Don’t be intimidated by intricate designs! Start simple. Polka dots, stripes, or a feature nail with glitter can add a fun touch to your US nails. Invest in a thin nail art brush or even use a toothpick for dots. Practice on a nail wheel or even a piece of paper before applying to your actual nails.
- Polka Dots: Use a dotting tool or the tip of a bobby pin dipped in polish.
- Stripes: Nail art striping tape or a thin brush can create crisp lines.
- Ombre: Gently dab two colors together with a makeup sponge for a gradient effect.
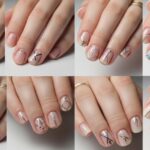
Seasonal US Nail Trends
Stay current with the ever-evolving world of US nail fashion. For example, spring often brings pastels and floral designs, summer vibrant neons and bold patterns, autumn deep jewel tones and earthy hues, and winter metallics and glitter. Social media, beauty blogs, and fashion magazines are excellent resources for staying up-to-date.
Maintaining Your Perfect US Nails
A beautiful manicure deserves to last! Proper maintenance is key to extending the life of your gorgeous US nails.
Daily Care Tips
- Hydrate: Regularly apply cuticle oil throughout the day, especially after washing hands.
- Moisturize: Use a good hand cream daily to keep your hands and nails supple.
- Protect: Wear gloves when doing dishes, gardening, or cleaning with harsh chemicals. Water and chemicals are manicure’s worst enemies.
- Be Gentle: Avoid using your nails as tools to open cans or scratch surfaces.
Extending Your Manicure’s Life
To get the most out of your hard work, consider these tips:
- Reapply Top Coat: Every 2-3 days, apply a thin layer of top coat to refresh the shine and add an extra layer of protection.
- Avoid Hot Water: Prolonged exposure to hot water can lift polish. Opt for lukewarm water when possible.
- Nail Strengthener: If your nails are prone to breaking, consider using a nail strengthener as a base coat or on its own.
When to Seek Professional Help
While DIY is empowering, some situations warrant a trip to a professional. If you notice persistent nail infections, severe ingrown nails, or unexplained discoloration, it’s always best to consult a dermatologist or a trained nail technician. They can offer advice and treatment to ensure the long-term health of your US nails.
Troubleshooting Common US Nail Problems
Even the most seasoned DIY manicurists encounter issues. Here’s how to tackle some common challenges.
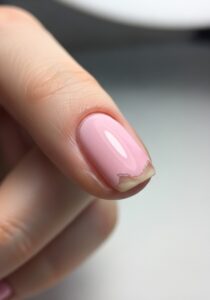
Chipping Polish
- Cause: Improper nail prep (oils on the nail), thick polish coats, skipping base/top coat, and using nails as tools.
- Solution: Ensure nails are clean and dry before polishing. Apply thin, even coats. Always use a base and top coat. Reapply top coat every few days.
Dry Cuticles
- Cause: Lack of hydration, harsh soaps, excessive hand washing, and cold weather.
- Solution: Regular application of cuticle oil and hand cream. Wear gloves when using water or chemicals.
Brittle Nails
- Cause: Dehydration, nutrient deficiencies, harsh nail products, and over-filing.
- Solution: Keep nails hydrated. Use gentle, acetone-free removers. Consider a nail strengthener. Ensure a balanced diet rich in biotin and vitamins.
Conclusion
Achieving perfect US nails at home is an incredibly rewarding endeavor. It offers a blend of relaxation, creativity, and the satisfaction of knowing you’ve created a beautiful, polished look with your own hands. By investing in quality tools, following proper techniques, and practicing regular maintenance, you can enjoy salon-worthy manicures without ever leaving your home.
Embrace the journey of becoming your own nail artist, experiment with different colors and styles, and enjoy the confidence that comes with beautifully cared-for US nails. Happy manicuring!