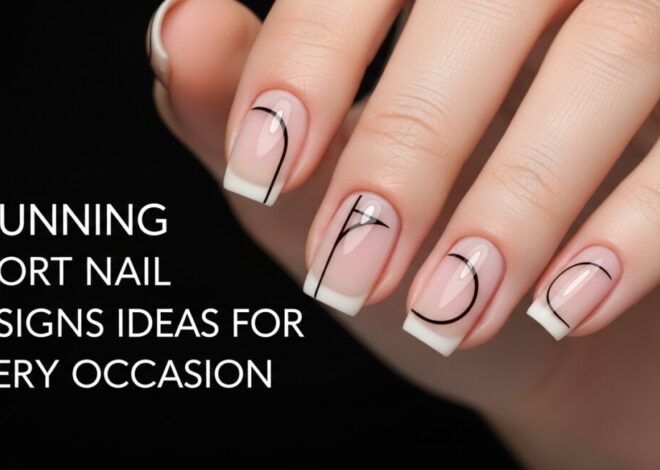


Perfect Coffin Nails: Step-by-Step DIY Tutorial For You
Welcome, nail enthusiasts! Have you ever scrolled through social media, mesmerized by the sleek, sophisticated, and undeniably chic look of coffin nails? Perhaps you’ve admired them on celebrities, influencers, or even a friend, and wondered if you could achieve that elegant, edgy shape yourself. The good news is, absolutely you can! Coffin nails, also sometimes called ballet slipper nails, have taken the beauty world by storm and continue to be one of the most requested and trendsetting nail shapes for a reason.
Known for their distinctive taper towards a blunt, straight tip, coffin nails offer a striking silhouette that elongates the fingers and provides a perfect canvas for virtually any nail art or polish color. While they might look complex to create, mastering the perfect coffin nail is entirely achievable right from the comfort of your own home, whether you’re working with your natural nails, gel extensions, or acrylics. This comprehensive, step-by-step tutorial is designed to demystify the process, making it easy for you to sculpt flawless coffin nails with confidence.
Forget the intimidating salon visits for this specific shape and embrace your inner nail artist. We’re going to walk you through everything you need to know: from understanding the unique characteristics of coffin nails and gathering your essential tools, to the precise filing techniques and maintenance tips that will keep your manicure looking pristine. Get ready to transform your fingertips and achieve that coveted, salon-quality coffin nail look without the fuss. Let’s dive in and unlock the secrets to perfect coffin nails!
What Exactly Are Coffin Nails?
Before we pick up our files, let’s clearly define what makes a coffin nail truly a coffin nail. This popular nail shape draws its name from its resemblance to a coffin – wider at the base, tapering inward along the sides, and finishing with a flat, squared-off tip. It’s distinct from a stiletto nail, which tapers to a sharp point, and an almond nail, which has a softer, rounded point. The key identifier for coffin nails is that signature blunt, straight edge at the very end.
The beauty of coffin nails lies in their structural elegance and modern appeal. They offer a strong, architectural line that makes a statement without being overly aggressive. This shape originated in the early 2010s and quickly gained traction thanks to celebrities like Kylie Jenner and Rihanna, becoming a staple in contemporary nail fashion. Its popularity stems not only from its aesthetic appeal but also from its surprising practicality. While long, pointed nails can sometimes be prone to snagging, the blunt tip of the coffin nail provides a bit more resilience, making them a stylish yet functional choice for many.
Understanding this distinct geometry is the first step towards achieving perfect coffin nails. It’s all about precision in the taper and a clean finish on the tip, creating a sophisticated and eye-catching manicure that’s both daring and refined. Whether you prefer them long and dramatic or shorter and subtle, the coffin shape adds an instant touch of glamour to your hands.
Why Coffin Nails Are a Must-Try
If you’re still on the fence about trying coffin nails, let us convince you why this shape should be your next manicure choice. Beyond their undeniable aesthetic appeal, coffin nails offer several practical and stylistic advantages that make them incredibly popular and a joy to wear.
Versatility for Every Occasion
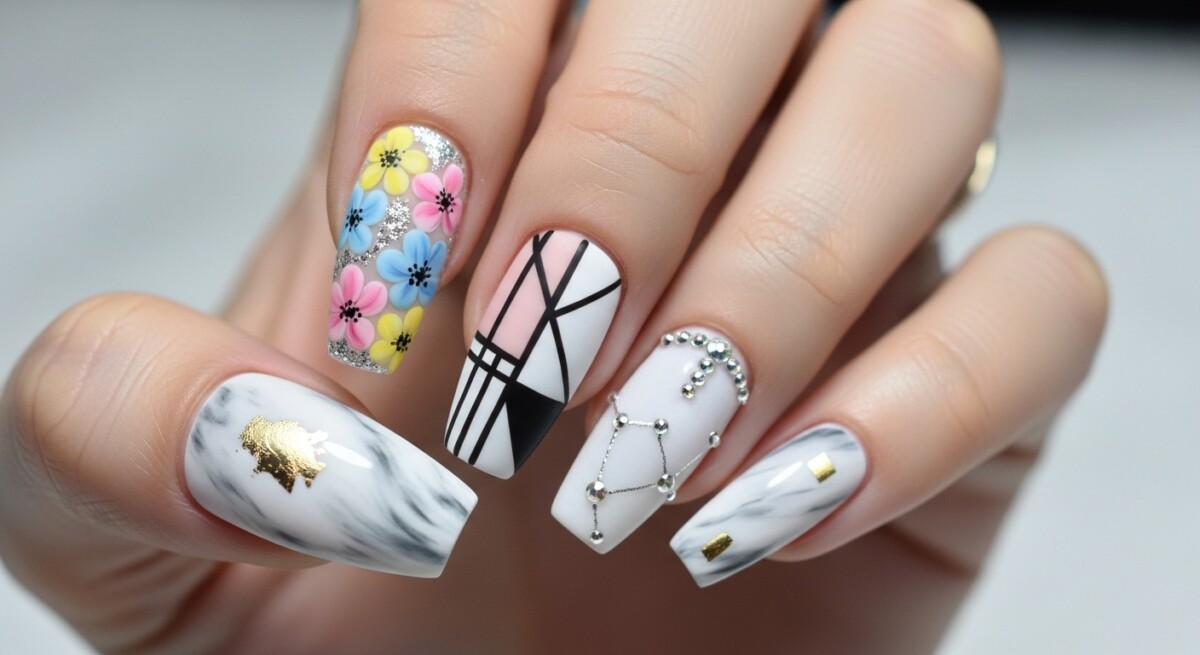
One of the greatest strengths of coffin nails is their incredible versatility. From minimalist nude shades and classic French tips to bold, intricate nail art designs, coffin nails provide a fantastic canvas. Their defined edges beautifully frame any polish or embellishment, making intricate patterns or glitter accents pop. Whether you’re heading to a formal event, a casual brunch, or rocking a professional look at the office, coffin nails can be adapted to suit any style or occasion with ease. They look equally stunning adorned with delicate rhinestones as they do with a vibrant, matte finish.
The Illusion of Length and Slenderness
If you have shorter fingers or wish to create the appearance of more slender hands, coffin nails are an excellent choice. The tapered sides and slightly extended length (if you choose to grow them out) create a visual trick, making your fingers appear longer and more elegant. This elongating effect is one of the primary reasons many women gravitate towards this particular shape, as it contributes to an overall polished and graceful hand aesthetic. Even on shorter nails, the distinct shape provides a modern and clean look that enhances the natural beauty of your hands.
A Perfect Canvas for Nail Art
For those who love to experiment with nail art, coffin nails are a dream come true. Their ample surface area and defined structure provide more space and better definition for detailed designs, ombre effects, encapsulation, or even 3D embellishments. Unlike rounded or pointed shapes where intricate designs might get lost or distorted, the flat tip and straight sides of coffin nails ensure that every detail of your artistic vision is clearly showcased. This makes them a favorite among nail artists and enthusiasts alike, providing endless creative possibilities for expressing personal style.
Gather Your Essentials: What You’ll Need
Before embarking on your coffin nail journey, gathering all the necessary tools and products is crucial. Having everything at hand will make the process smoother, more efficient, and ensure you achieve the best possible results. Here’s a comprehensive list of what you’ll need:
Tools for Shaping and Prep
- Nail Clippers: For trimming down significant length if needed.
- Nail File (100/180 grit): Essential for shaping. A coarser grit (100) is good for initial shaping, while a finer grit (180) is perfect for refining edges.
- Buffer Block: To smooth the nail surface and prepare it for polish application.
- Cuticle Pusher: To gently push back cuticles.
- Cuticle Nipper (Optional): For carefully removing any hangnails or excess cuticle skin (use with extreme caution).
- Dust Brush: To sweep away nail dust after filing.
Products for Application and Finish
- Nail Dehydrator/Prep Solution: To remove natural oils and ensure better adhesion.
- Nail Tips (Optional): If you want to add significant length or are working with shorter natural nails. Opt for clear or natural tips.
- Nail Glue (for tips): A strong, quick-drying glue for adhering tips.
- Base Coat: Protects your natural nails and helps polish adhere better.
- Nail Polish (color of your choice): Or gel polish, if you’re using a UV/LED lamp.
- Top Coat: Provides shine, protection, and extends the life of your manicure.
- UV/LED Lamp (if using gel polish): Necessary for curing gel polish.
- Nail Oil: For hydrating cuticles after your manicure is complete.
- Rubbing Alcohol or Gel Cleanser: To wipe off the tacky layer from gel polish (if applicable).
Having these items ready will ensure a seamless experience as you meticulously craft your perfect coffin nails. Remember, quality tools make a significant difference in the outcome and ease of the process.
The Step-by-Step Guide to Perfect Coffin Nails
Now for the main event! Follow these steps carefully to achieve salon-worthy coffin nails at home. Whether you’re working with your natural nails or applying tips, the shaping technique remains consistent.
Step 1: Prep Your Natural Nails
Proper preparation is the foundation of any great manicure. Start by removing any old polish from your nails. Using a cuticle pusher, gently push back your cuticles. If you have any hangnails, carefully trim them with a cuticle nipper, but avoid cutting live skin. Lightly buff the surface of your nails with a buffer block to create an even texture and remove any natural oils. Finally, cleanse your nails with a dehydrator or rubbing alcohol to ensure a clean, oil-free surface for optimal adhesion of any tips or polish. This crucial step prevents lifting and promotes a longer-lasting manicure.
Step 2: Choose Your Method and Build Length (If Needed)
You have a few options for creating coffin nails:
- Natural Nails: If your natural nails are long and strong enough, you can proceed directly to shaping.
- Nail Tips: For added length or if your natural nails are short, apply a clear or natural nail tip. Select a tip that fits snugly from sidewall to sidewall without overlapping your natural nail. Apply a small amount of nail glue to the well of the tip, press it onto your nail plate, and hold firmly for 10-15 seconds. Once all tips are applied, trim them to your desired length using nail clippers.
- Gel or Acrylic Extensions: If you’re experienced with these systems, apply your chosen extension product to build the desired length and shape before filing.
For the purpose of this tutorial, we will focus on shaping once you have the desired length, whether natural or extended.
Step 3: Shaping the Coffin Nail
This is the most critical step where the magic happens. Precision and patience are key here.
- Create the Taper: Hold your nail file parallel to one side of your nail, slightly angled towards the center. File in one direction, from the sidewall of your nail towards the center of the tip. You want to create a gradual taper, making the free edge narrower than the base of your nail. Repeat this process on the opposite side, ensuring both sides are symmetrical. Take your time, checking the shape frequently to ensure evenness.
- Flatten the Tip: Once you have achieved the desired taper on both sides, it’s time to create the signature blunt tip. Hold your file straight across the free edge of your nail. File gently in one direction, straight across, to square off the very end of the nail. This creates the flat, coffin-like finish. Be careful not to file too much, as you can always remove more but cannot add it back.
- Refine and Smooth: After you’ve achieved the basic coffin shape, use the finer grit side of your file (180 grit) to smooth out any rough edges and perfect the overall silhouette. Pay close attention to the corners of the blunt tip, ensuring they are crisp but not sharp. Use a dust brush to remove any nail dust, then visually inspect all your nails for symmetry and consistency.
Step 4: Application of Polish and Design
Now that your coffin nails are perfectly shaped, it’s time to add color and personality!
- Base Coat: Apply a thin, even layer of base coat to all nails. This protects your natural nails from staining and helps your polish adhere better, prolonging your manicure. Allow it to dry completely (or cure under a UV/LED lamp if using gel).
- Color Application: Apply your chosen nail polish color in thin, even coats. Two coats are usually sufficient for opaque coverage. Ensure each coat is dry before applying the next to prevent smudging and achieve a smooth finish. If using gel polish, cure each layer under your lamp according to the product instructions.
- Optional Designs: If you plan on adding nail art, glitter, or embellishments, do so now. The flat, wide surface of coffin nails is ideal for intricate designs.
- Top Coat: Finish with a generous layer of top coat. This adds shine, protects your polish from chipping, and seals in any designs. For gel polish, apply a gel top coat and cure under the lamp. If using a no-wipe gel top coat, you’re done! If it’s a regular gel top coat, wipe off the tacky inhibition layer with rubbing alcohol or gel cleanser.
Step 5: Maintaining Your Coffin Nails
To keep your coffin nails looking flawless and extend the life of your manicure, follow these maintenance tips:
- Hydrate Your Cuticles: Apply cuticle oil daily to keep your cuticles healthy and prevent them from drying out, which can lead to hangnails and a messy look.
- Protect Your Hands: Wear gloves when doing household chores, gardening, or any activity that involves prolonged water exposure or harsh chemicals. This will protect both your polish and the integrity of your nails.
- Gentle Filing: If a nail chips or snags, gently file it down to prevent further damage. Avoid picking or peeling your polish.
- Fills/Redo: For extensions, schedule fills every 2-3 weeks to maintain strength and appearance. For natural nails, plan to redo your polish every 1-2 weeks, depending on wear and tear.
Tips for Long-Lasting Coffin Nails
Achieving perfect coffin nails is one thing, but making them last is another. Always use a high-quality base and top coat. Apply thin layers of polish, allowing each to dry fully. Don’t skip cuticle oil – hydration is key for nail health. Wear gloves for chores to protect your manicure from chips and breakage. Regular touch-ups can extend the life of your polish, and if you have extensions, consistent fills are crucial for maintaining strength and shape. Treat your nails gently, and they will reward you with lasting beauty.
Conclusion
Congratulations! You’ve successfully navigated the path to achieving perfect coffin nails right at home. This distinctive and fashionable nail shape, with its tapered sides and blunt tip, is a true game-changer for anyone looking to elevate their manicure. We’ve covered everything from the essential tools and meticulous shaping techniques to the final polishing steps and crucial maintenance tips, empowering you to create a professional-looking finish yourself.
Remember, practice makes perfect. Don’t be discouraged if your first attempt isn’t flawless. With each try, your skill will improve, and you’ll gain confidence in shaping and styling your coffin nails. This versatile shape is not only incredibly stylish but also provides an expansive canvas for your creativity, allowing you to express your unique personality through endless color and design possibilities. So go ahead, flaunt your beautifully crafted coffin nails, and enjoy the confidence and compliments they bring. Your perfect coffin nail journey has just begun!
Frequently Asked Questions
How do I maintain my coffin nails to prevent breakage?
To prevent breakage, regularly apply cuticle oil to keep nails hydrated and flexible. Avoid using your nails as tools, and wear gloves for household chores or activities involving water and harsh chemicals. If you have extensions, ensure timely fills to maintain their strength and structure.
Can I achieve coffin nails on short natural nails?
While coffin nails typically look best with some length, you can certainly create a subtle coffin shape on shorter natural nails. The key is to still create the slight taper on the sides and a clean, straight blunt tip, even if the overall length is minimal. For a more dramatic look, consider using short nail tips or a gel/acrylic overlay to add length.
What’s the difference between coffin nails and ballet slipper nails?
There is no practical difference; “coffin nails” and “ballet slipper nails” are two common names for the exact same nail shape. Both terms describe nails that taper in towards the tip and then finish with a straight, blunt edge. “Ballet slipper” often emphasizes a slightly softer or more elegant aesthetic, but the geometry of the shape is identical to “coffin.”


3 thoughts on “Perfect Coffin Nails: Step-by-Step DIY Tutorial For You”